Guardmaster/GuardMaster® II
Installation Instructions
Guardmaster and GuardMaster® II Pressure Mounted Gate Installation Instructions
-
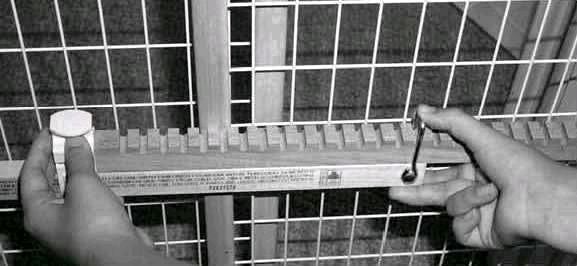
Facing the locking mechanism, lift the lock wire from
the notched pressure bar and slide gate towards the
open position until the rubber bumpers come in contact
with the doorway or hallway surface (27” – 41”)(68cm-104cm).

-
Align the lock wire with the notched bar in the vertical
position, count four notches to left (toward plastic latch)
and make a distinctive pencil mark on the notched bar.

-
Release plastic latch by pulling upward on finger grip.

-
Raise the notched bar up until the lock wire fits into
a notch. Please mark this notch with a pencil. Push
down on the notched pressure bar until the gate
expands and applies pressure to doorway or hallway.

-
Please make sure that you have pushed the plastic
latch down until it has locked firmly into place over
the bottom pressure bar. Be sure that the gate is secure
by giving the top a push/pull motion. The gate should
feel tight in position. If the gate feels loose, release
the plastic latch and advance the lock wire to the next
notch on the pressure bar and repeat the locking procedure.
If you have any additional questions, please call us at (877) 242-8392.